NES front loader blinking: 72-pin connector and the 10NES reset loop
Symptom Power LED blinks on and off roughly once per second, screen flashes grey in time with it, game occasionally boots if the cartridge is wiggled.
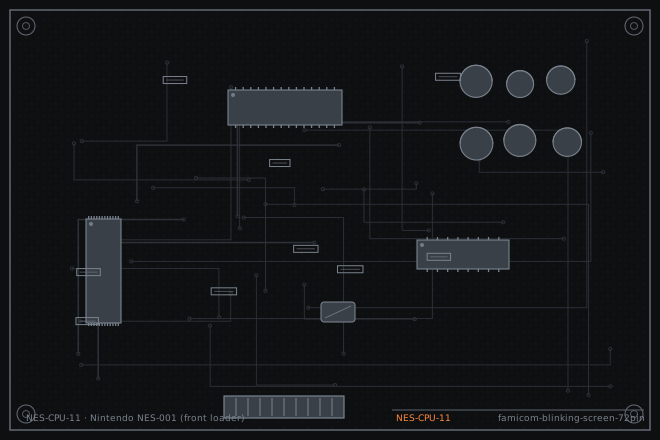
The blinking NES is the most documented fault in the hobby and it is usually blamed entirely on the connector. Half the time the connector is fine and the 10NES lockout chip is the problem. This dossier separates the two causes with a two-minute test and gives the correct order of repair so you do not replace a part that was working.
Reading the blink
A blinking LED is not a power fault. The LED is on the 5 V rail and only blinks because the 10NES lockout chip is pulling the reset line low about once a second. The NES is designed to hold the CPU in reset whenever the lockout chip cannot complete its handshake with the cartridge. So the blink means the board has good power and the lockout chip is unhappy.
The handshake depends on one thing: a clean electrical contact between the cartridge edge fingers and the 72-pin connector. Oxidation, worn contacts and a mechanically sloppy connector all break it. A CIC chip that has drifted out of spec breaks it too, and that is the case people miss.
Two tests that separate the causes
Do not open the console until both tests are done. The first tells you whether the contact is the problem; the second tells you whether the lockout chip itself is at fault.
The tests take about two minutes and they save you from buying a connector you did not need. A replacement 72-pin connector costs more than the console did in 1990, and roughly half of the blinking units on the bench do not need one.
- Clean a known-good cartridge edge with isopropyl alcohol and a pencil eraser until the fingers are bright. Insert it and press down fully. If the game boots and stays booted, the connector is dirty rather than worn.
- Insert the cartridge and press it down, then pull it back up slightly without releasing the tray. If the game boots only in that position, the connector contacts have lost their spring and the connector needs replacement or re-tensioning.
- Check pin 4 of the lockout chip (U3, the 10NES) for a clean connection to its socket or pads. On most revisions the chip is socketed; a corroded socket leg is a common cause of an intermittent blink.
- Measure the reset line at the CPU while the LED blinks. A once-per-second pulse confirms the lockout loop rather than a video fault.
- If the console boots with a known-good cartridge but not with the owner cartridge, the fault is the cartridge, not the console. Test the owner cartridge in a second console before charging for a repair.
Cleaning, re-tensioning or disabling the lockout
Start with cleaning. Fold a strip of 600-grit paper over a thin card, work it in and out of the connector ten to fifteen times, then flush the slot with isopropyl alcohol and let it dry fully. This restores contact on a connector that is dirty but not worn, and it is reversible.
If the contacts are physically worn, replace the connector with a new 72-pin part. Refurbished originals vary wildly in quality; a new part with gold-plated contacts is the more predictable choice. As a last resort, cutting pin 4 of the lockout chip disables the reset loop permanently and makes the console region-free. It is a one-way modification and it should be described as such to the owner.
- Disconnect power and remove the six case screws. The shell separates with the cartridge tray attached to the top half.
- Clean the connector slot with folded 600-grit paper and flush with isopropyl alcohol.
- For a replacement connector: desolder the 72 pins from the main board, fit the new part, and reflow with a clean tip at 340 °C.
- Alternative fix: lift pin 4 of the 10NES chip out of its socket, or cut it flush if soldered. Insulate the lifted leg with heat-shrink so it cannot touch anything.
- Fit a cartridge, power up and confirm the LED stays lit and the game runs. Then test a second cartridge to be sure the fix is not cartridge-specific.
Fault tree branches
where this symptom also leadsIf: Cleaning and re-tensioning the connector does not stop the blink
Replace the 10NES lockout chip or disable it by lifting pin 4.
If: LED is steady but the screen is blank or rolling
This is no longer a lockout fault. Check the video path and the PPU.
Famicom HVC-001 dead on the bench: blown fuse and a tired 7805If: The console boots but the picture has vertical bars or a rolling image
Clean the cartridge edge fingers and check the RF modulator ground.
Super Famicom: bent pins in the 62-pin slot after a cartridge was forced in