Top loader with green fur on the contacts: cleaning a corroded 72-pin slot
Symptom Game boots one time in five, garbled graphics when it does, white flashes, cartridge has to be held at an angle.
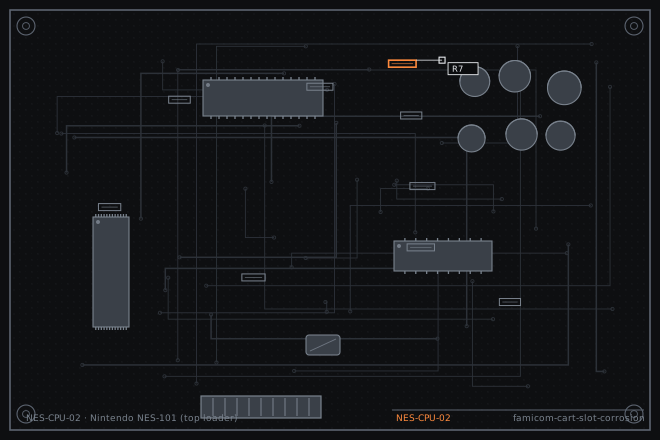
A top-loading NES stores its connector face-up, so anything that condenses or spills inside the shell runs straight into the contacts and stays there. Green corrosion on nickel-plated pins is the result, and it is removable if you catch it before the plating is gone.
Corrosion rather than wear
Worn contacts and corroded contacts produce different symptoms. Wear gives you intermittent booting that changes when you reseat the cartridge. Corrosion gives you the same failure every time, usually one or two bad data lines, which shows up as garbled graphics or a specific colour missing rather than a blank screen.
Look into the slot with a torch at an angle. Healthy pins are a uniform dull silver. Corroded pins have green or white deposits on the exposed edge, and the deposit is usually concentrated on the side of the slot nearest the vents.
Deciding whether the slot can be saved
The plating on a Nintendo 72-pin connector is thin and the corrosion eats it from the exposed edge inward. If the green deposit wipes off and leaves shiny metal underneath, the slot is salvageable. If it wipes off and leaves a pitted dull surface or exposed copper-coloured base metal, the plating is gone and cleaning will only buy a few months.
Test the individual pins with a continuity meter and a cartridge you do not mind marking. Find which pins are not making contact, then check whether those pins are visually corroded or just bent.
- Inspect the slot under a bright angled light. Photograph it with a phone before cleaning so you can compare.
- Note whether the deposits are on the data pins in the middle or on the outer power pins. Power pin corrosion is more serious because it raises contact resistance on the 5 V rail.
- Probe the suspect pins with a continuity meter against the cartridge fingers. A pin reading over 5 ohms under light pressure is not making proper contact.
- Check whether any pins are visibly bent or pushed back into the housing. Bent pins can often be straightened with a fine pick.
- Smell the board near the slot. A sharp acidic smell means liquid damage rather than plain atmospheric corrosion, and that changes the repair.
Cleaning without removing the plating
Never use sandpaper or a metal file on plated contacts. Use a fibreglass pencil lightly, or a cotton swab with white vinegar followed immediately by isopropyl alcohol. The vinegar dissolves the oxide; the alcohol stops the acid from continuing to work. Leaving vinegar on the pins is worse than not cleaning them at all.
After cleaning, treat the slot with a contact conditioner that leaves a molecular film rather than an oil. DeoxIT D100 or an equivalent is the usual choice. Do not use petroleum jelly, which holds dust and becomes conductive when it picks up metal particles.
- Disconnect power and remove the shell. On an NES-101 the connector is accessible from the top without removing the main board.
- Clean each pin with a swab dampened with white vinegar, working along the pin, not across the housing.
- Immediately follow with an isopropyl alcohol swab to neutralise and remove the acid.
- Apply a small amount of contact conditioner to a cartridge edge and insert and remove it ten times to transfer the film into the slot.
- If the plating is gone, fit a replacement connector. On the top loader this is a straightforward desolder job with good access.
- Test with three different cartridges before closing the shell. One cartridge passing is not proof.
Fault tree branches
where this symptom also leadsIf: Cleaning restores contact for a few weeks and then it fails again
The plating is gone. Replace the connector rather than cleaning it a third time.
NES front loader blinking: 72-pin connector and the 10NES reset loopIf: The corrosion has spread onto the main board traces
Neutralise the whole area with vinegar then isopropyl alcohol and check for eaten traces with a continuity meter.
Super Famicom: bent pins in the 62-pin slot after a cartridge was forced inIf: The shell is also yellowed or brittle
Treat the plastic before reassembly so you do not open the console twice.
Retrobriting a yellowed Super Famicom shell without wrecking the labels