Famicom hardwired controller: one direction stops responding
Symptom Up and down work, left and right do nothing, or a single direction reads as permanently held down.
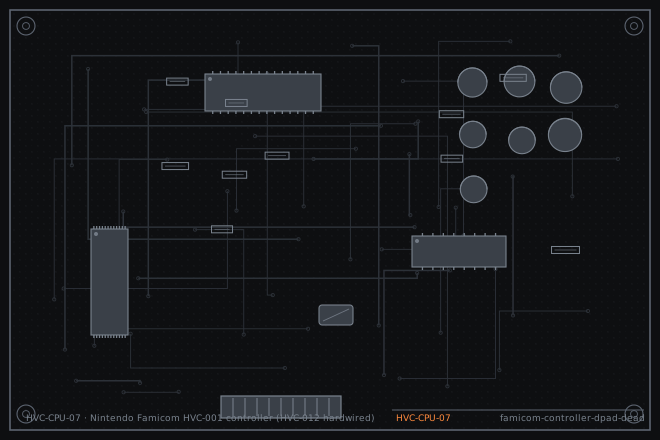
The hardwired Famicom controller fails in a narrow set of ways, and the order of failure is predictable: carbon pad first, rubber dome second, ribbon cable third, shift register last. Working through that order takes half an hour and rarely needs parts beyond a cleaning kit.
Narrowing which layer failed
A direction that never registers and a direction that is stuck on are different faults. A dead direction usually means the carbon pad or the dome has stopped conducting. A direction that reads as held down means the two conductive traces under that dome are bridged, usually by graphite dust, spilled liquid residue or a shorted shift register input.
If all four directions plus both buttons are dead, stop here and check the ribbon cable and connector at the console end. A single failed direction is never a cable problem, because each direction has its own conductor.
Continuity from pad to chip
The controller uses a 4021 shift register. Each direction pulls one input to ground through a carbon pad. You can test the whole chain with a multimeter without power, and that is the fastest way to find where the signal stops.
A cleaner method is to measure resistance across the pad pair while pressing the button. A healthy carbon pad reads between 100 and 400 ohms; anything over 5 kilohms will not register reliably.
- Open the controller shell with a JIS #0 driver. Four screws, all under the label on the back on some units.
- Inspect the carbon pads on the rubber dome and the interleaved traces on the PCB under a bright light. Grey or black film on the traces is graphite contamination.
- Measure from the pad trace to pin 1 of the 4021 for each direction with the button pressed. Compare the failing direction against a working one.
- Tug gently on the ribbon cable at the strain relief. A cable that has broken strands will flex open and closed; flex it while watching the meter.
- If continuity is good and the pad resistance is under 400 ohms, the 4021 input has failed. Test by shorting that input pin to ground with a piece of wire while watching the screen.
Cleaning, repainting or replacing
Ninety percent of these controllers come back with cleaning alone. Remove the rubber dome, wipe the carbon pads with isopropyl alcohol on a lint-free swab, and clean the PCB traces the same way. Do not use an eraser on the PCB side; it removes the carbon layer that makes the pad work.
If the carbon pad has physically worn through, repair it with conductive carbon paint. Two thin coats, ten minutes apart, and let it cure for an hour before reassembly. Silver-loaded paint works but is harder and will wear the PCB traces over time, so use carbon paint where you can get it. A dead 4021 is the one case that justifies replacing the whole controller board.
- Wipe the rubber dome pads and PCB traces with isopropyl alcohol and a lint-free swab. Let dry for five minutes.
- For a worn pad, apply conductive carbon paint in two thin coats. Mask the surrounding rubber with tape so the pad keeps its shape.
- Reassemble and test every direction and both buttons in a game that displays input, not on a title screen that ignores it.
- If the 4021 has failed, replace the small controller PCB rather than the cable. The cable is soldered into the console and is not a serviceable part.
- Test the turbo switches separately: on a hardwired Famicom controller, mic and turbo circuits share the same ground and can mask an input fault.
Fault tree branches
where this symptom also leadsIf: All directions and both buttons are dead at once
The ribbon cable or the console-side connector has failed. Check the connector pins on the main board.
Famicom HVC-001 dead on the bench: blown fuse and a tired 7805If: A direction registers on the multimeter but not in the game
The 4021 input has failed. Replace the controller PCB.
If: Two directions register as one
Graphite bridging between adjacent traces. Clean with isopropyl alcohol and re-test before replacing anything.