Mega Drive will not boot a cartridge: cold joints on the 64-pin slot
Symptom Black screen or a red screen, game boots only if the cartridge is pushed to one side, and cleaning the cartridge edge does not help.
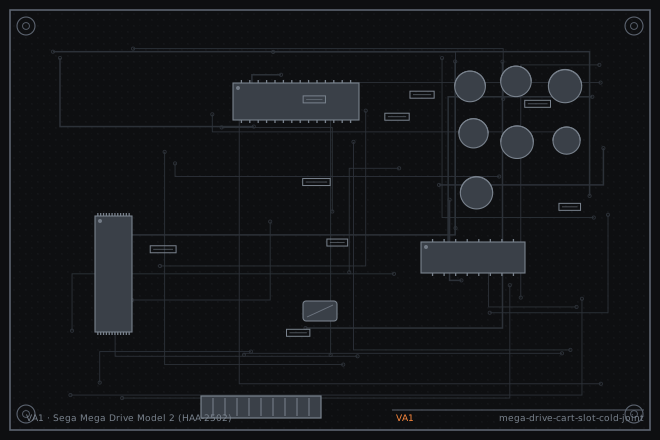
When cleaning the cartridge does not fix a Mega Drive that will not boot, the next suspect is the slot itself rather than the cartridge. The 64-pin edge connector is soldered to a board that flexes every time a cartridge is inserted, and the corner pins carry the load. Reflowing them is dull work with a high success rate.
Cartridge or console
Test the cartridge in a second console before opening anything. A cartridge that works elsewhere and fails here points at the slot. A cartridge that fails everywhere is a cartridge problem, and cleaning the console will not fix it.
Listen to what the console does. A black screen with no audio at all means the CPU never got past the reset vector, which is consistent with a broken data or address line. A red screen or a screen with garbage suggests the CPU is running but reading bad data.
Finding the open pin
With the shell open, inspect the solder side of the slot at 10x magnification. Cold joints on this connector look slightly dull and grainy compared to the surrounding joints, and the corner pins are the ones to look at first because they take the most mechanical load.
Then test each pin for continuity from the slot contact to the nearest via or chip pin. On a 64-pin connector this is tedious but it is the only way to find a single open line. Mark the pins you have tested with a marker so you do not lose track.
- Test the cartridge in a second console to confirm which side is at fault.
- Open the shell and inspect the slot joints from the solder side at 10x. Look for dull, grainy or ringed joints.
- Press each corner of the slot gently from the component side while watching the joints for movement.
- Buzz out every pin from the slot contact to its destination. Mark tested pins as you go.
- Check the 5 V and ground pins first. A high-resistance power pin will cause a boot failure that looks exactly like a data fault.
Reflowing 64 pins in the right order
Add flux to the whole row and reflow with a wide tip, working in groups of four or five pins rather than one at a time. Do the corner and power pins first, since those are the ones that have actually failed; there is no need to reflow all 64 if eight of them are the problem.
If the slot has been subjected to years of cartridges being forced in, the plastic may be distorted and the pins splayed. In that case replace the connector. A splayed slot will keep producing intermittent boots no matter how well it is soldered.
- Apply flux across the pin row and reflow the corner pins and the power pins first, in groups.
- Hold the connector flat against the board with a finger while the solder is molten.
- Test for continuity on the pins you have reflowed, then reassemble and test the console.
- If it still fails, continue reflowing the remaining pins in groups of four or five.
- If every joint is good and the console still will not boot, check the address and data buffers between the slot and the CPU.
- Test with three cartridges, including one homebrew or a repro, before returning the console.
Fault tree branches
where this symptom also leadsIf: Cleaning the cartridge edge fixes it for a while and then it fails again
The slot contacts have lost tension. Reflow or replace the connector.
If: The console boots but the game crashes partway through
An intermittent address line rather than a dead one. Reflow the whole connector.
Super Famicom: bent pins in the 62-pin slot after a cartridge was forced inIf: The console boots but no controller input registers
Check the I/O chip, which sits on the same data bus as the slot.
Mega Drive controller port 1 dead: a ferrite bead and a worn DB9