Mega Drive controller port 1 dead: a ferrite bead and a worn DB9
Symptom Player 1 controls do nothing, or the game sees a button held down permanently, and a controller in port 2 works perfectly.
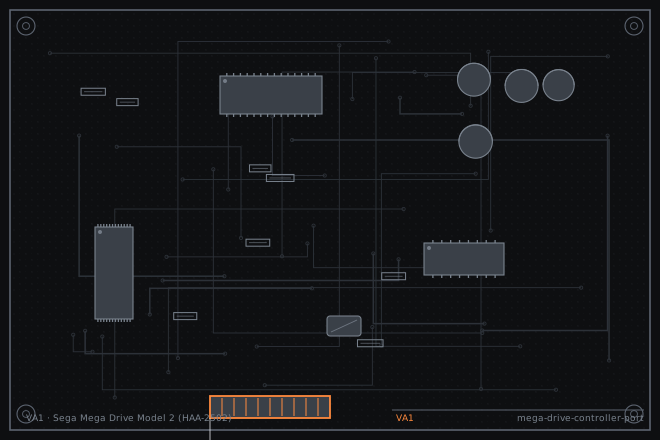
Two different faults produce the same symptom on a Model 2 Mega Drive: a failed ferrite bead on one of the data lines, and the DB9 socket itself. The bead is a thirty-second test and it fails more often than the socket does, so check it before you order a connector.
Dead port versus stuck button
A port that reads nothing at all means the data lines are open somewhere between the socket and the I/O chip. A port that reads a button as permanently held means one data line is shorted to ground, which is usually the socket rather than the bead.
The single fastest test is to swap the controllers between ports. If a known-good controller works in port 2 and nothing works in port 1, the console is at fault; if the same controller fails in both ports, the controller is at fault.
Bead, socket or chip
Segea put small ferrite beads in series with each data line right behind the port. They are there to stop cable radiation but they also act as fuses: a controller plugged in while the console is on can take one out. A blown bead looks identical to a good one, so it has to be measured.
Work from the socket inward. If every line has continuity from the socket pin to the I/O chip pin, the socket is worn. If one line is open and you can find the bead, the bead has failed.
- Test with two known-good controllers in both ports to confirm which side is at fault.
- With the console off, measure continuity from each DB9 pin on port 1 to the corresponding pin on port 2. Lines that differ between the two ports are suspect.
- Locate the ferrite beads behind port 1, usually a row of small dark packages. Measure across each one. A good bead reads under 2 ohms; a failed one reads open.
- Inspect the DB9 socket pins for bent contacts. Controller plugs get forced in the wrong way up more often than anyone admits.
- Check the pull-up resistors on the data lines. A missing pull-up gives a port that reads all buttons held at once.
Bypassing a bead and replacing the socket
A failed bead can be replaced with a wire link, and the console will work perfectly. The bead only suppresses radio frequency emissions from the controller cable, so a link is electrically equivalent for the owner and is the pragmatic repair. If you want to keep the console compliant, fit a replacement bead of the same value, typically around 100 ohms at 100 MHz.
Replacing the DB9 socket is a bigger job: nine pins plus two mounting tabs, and the socket sits close to the shell opening. Use a pump and braid, work one pin at a time, and do not pull on the socket until every pin is free. A socket that is levered out with pins still attached will lift pads.
- For a failed bead: fit a wire link of the same length across the bead pads, or fit a replacement bead of the same value.
- For a worn socket: desolder all nine pins and both mounting tabs, alternating sides so the plastic body does not soften.
- Clean the pads with braid and isopropyl alcohol.
- Fit the new socket, solder the two mounting tabs first to hold it flat, then the nine pins.
- Check every pin for continuity to its corresponding pin on port 2 before reassembly.
- Test both ports with two controllers in a two-player game, not in a one-player title that ignores port 2.
Fault tree branches
where this symptom also leadsIf: Both ports are dead in the same way
The fault is shared logic rather than the sockets. Check the I/O chip supply and the pull-up resistor network.
Mega Drive Model 1 with no picture: cracked joints on the DIN AV socketIf: The port works but one direction is always held
A shorted data line. Check the socket for a bent pin before replacing the bead.
Famicom hardwired controller: one direction stops respondingIf: Controls work but the console resets when a controller is moved
The socket mounting tabs have cracked and the port is flexing. Reflow the tabs.