Mega Drive Model 1 with no picture: cracked joints on the DIN AV socket
Symptom Picture cuts in and out when the AV cable is moved, then stops entirely. Console still powers on and the game still runs.
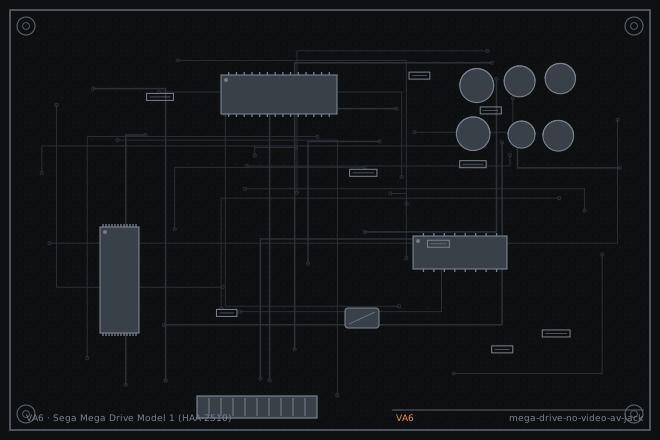
The eight-pin DIN socket on a Model 1 Mega Drive is held to the board by seven solder joints and nothing else. Every tug on the AV cable loads those joints directly, and after thirty years they crack in a ring around the pin. It is one of the most reliable repairs on this console.
Intermittent first, dead second
This fault almost never arrives all at once. The owner will describe a picture that flickers when someone walks past the console, then a picture that needs the cable held at an angle, then nothing. That progression is the crack opening up.
Confirm it is the socket and not the cable by flexing the connector at the console end while watching the screen. If the picture returns in one specific position, the joint is cracked. If flexing the cable at the far end changes it, the cable is the problem instead.
Finding which pin has cracked
All eight pins on the socket can crack, but composite video and ground are the two that carry a signal every owner notices. Ground usually goes first because it carries the video return current and heats up slightly more on every thermal cycle.
With the shell open and the board out, look at the solder side of the socket under a loupe. A cracked joint shows as a fine dark ring around the pin where the solder has separated from the pad. Sometimes you can see the pin move inside the ring when you press on the socket from the component side.
- Open the shell: six screws on a Model 1, four of them under the rubber feet.
- Flex the AV cable at the socket while watching the picture. Note the exact direction that restores it.
- With the board out, inspect all eight socket joints from the solder side at 10x. Look for a dark ring at the pad boundary.
- Press the socket body gently from above while watching the joints. A joint that moves is cracked even if it does not look it.
- Check the two ground pins specifically. They are usually the first to fail and they can look fine at low magnification.
Reflowing the socket properly
Do not simply touch the iron to each pin. Add fresh flux and a small amount of new solder to each joint in turn, holding the socket body down flat against the board while the solder is molten. A joint that is reflowed while the pin is lifted will crack again within weeks.
If more than three pins have cracked, remove the socket entirely, clean the pads and refit it. A socket that has been loaded repeatedly is usually distorted, and a distorted socket puts strain on the joints from the moment it is soldered down.
- Apply flux to all eight joints and add a small amount of fresh solder to each.
- Hold the socket flat against the board with a finger or a wooden block while reflowing each pin.
- Work around the socket rather than pin by pin in a line, so the plastic body does not get hot enough to soften.
- Check each joint at 10x after reflowing. A good joint is a smooth concave fillet with no dark ring.
- Check the shield ground tabs and reflow them too if they are present on your revision.
- Reassemble, run a game, and flex the cable deliberately in every direction while watching the screen. It should hold in all of them.
Fault tree branches
where this symptom also leadsIf: Video is stable but there is a loud buzz under the audio
The ground joint has partially failed rather than fully opened. Reflow the ground pins first.
Mega Drive Model 1 audio buzz: the ground return through the AV cableIf: Video and audio are fine but the console will not power on reliably
The DC jack joints have cracked in the same way. Check them next.
If: Video is present but the picture rolls or loses colour
Check the video encoder supply and the cable type. Not all faults are the socket.
Super NES reset button that does nothing, or resets on its own