Super NES reset button that does nothing, or resets on its own
Symptom Reset button has no effect, or the console resets by itself during play and loses the save in progress.
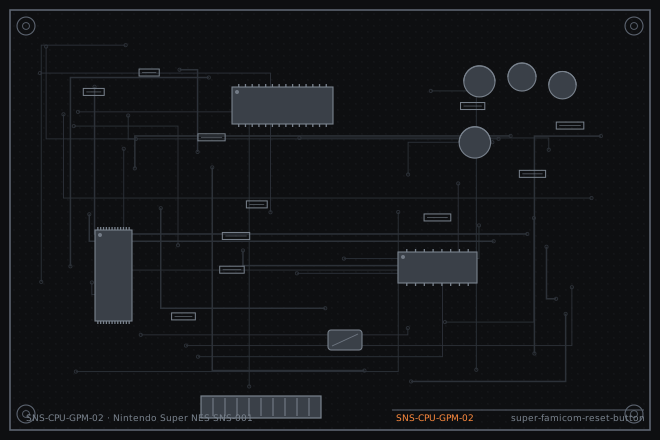
A reset button that does nothing and a console that resets by itself are the same fault seen from two sides: the switch, the pull-up resistor, or the trace between them. All three are easy to test and the fix is usually a switch replacement that takes twenty minutes.
Which side of the switch has failed
The reset line is held high by a pull-up resistor and pulled low when the switch closes. If the switch fails open, pressing it does nothing. If the switch fails shorted, or the line is shorted to ground anywhere along its length, the console sits in reset or resets intermittently on its own.
Spontaneous resets during play are the more damaging symptom because they can corrupt a save. Owners often describe it as the game crashing rather than as a hardware fault, so ask specifically whether the screen ever goes back to the title without being touched.
Three measurements on the reset line
Measure the reset line voltage with the console running and nothing pressed. It should sit close to 5 V. Anything below 4 V means the line is being pulled down and the console will behave erratically.
Then press the button and watch the meter. A working switch will pull the line to under 0.5 V. A switch that is open will show no change at all. A switch that is intermittently shorted will show the line drifting down on its own.
- Measure the reset line at the switch terminal with the console running. Expect close to 5 V.
- Press reset and watch the meter. Expect a clean drop to below 0.5 V.
- Measure the pull-up resistor value in circuit. It should read its marked value; a resistor that has drifted high leaves the line floating.
- Check the continuity of the trace from the switch to the CPU reset pin. A trace that is cracked shows up as a high resistance rather than a clean open.
- Inspect the switch for physical damage. The plunger on an SNS-001 is a plastic part that breaks before the switch does.
Replacing the tactile switch
The reset switch is a through-hole tactile part with four legs. It is one of the easier components to replace on this board, but the legs are in a tight rectangle, so use a pump on each leg in turn and keep the iron on each one for no more than three seconds.
If the line is shorted to ground somewhere between the switch and the CPU, find it with a resistance measurement rather than by removing parts. A shorted line reads under 10 ohms with the switch removed, and then you work along the trace until the reading jumps. Do not replace the CPU on suspicion; the CPU reset input fails far less often than the trace does.
- Remove the old switch with a pump, one leg at a time, keeping the iron under three seconds per leg.
- Clean the four holes with braid and check that none of them has lifted.
- Fit the new switch and solder the two diagonal legs first to hold it square.
- Confirm the line drops below 0.5 V when pressed and sits near 5 V when released.
- Reassemble and run a game for twenty minutes without touching the console to confirm there are no spontaneous resets.
- If spontaneous resets persist, measure the trace resistance again and look for a partial short rather than a clean one.
Fault tree branches
where this symptom also leadsIf: The reset line sits low even with the switch removed
The trace is shorted to ground. Work along it with a resistance measurement rather than replacing parts.
If: Reset works but the console only resets sometimes
The switch contacts are dirty rather than open. Clean or replace the switch.
Mega Drive controller port 1 dead: a ferrite bead and a worn DB9If: The console resets when a controller is moved
Check the controller port and its pull-ups rather than the reset circuit.
Famicom hardwired controller: one direction stops responding