Early PlayStation power supply: leaking capacitors that ate the board
Symptom Console works intermittently, smells faintly of fish, shows brown residue around the power supply, or has stopped powering on after storage.
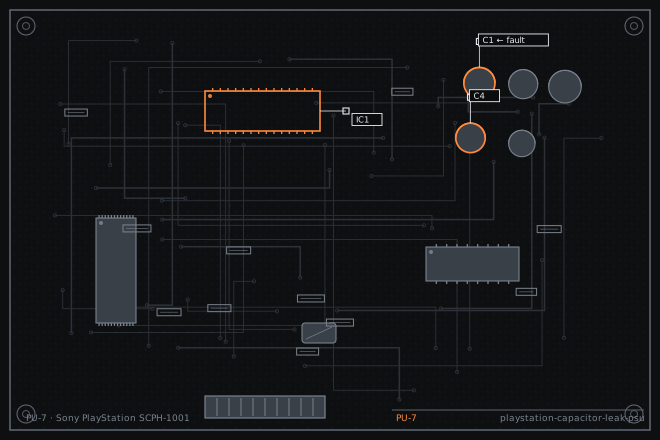
The first-generation PlayStation power supply boards are full of electrolytic capacitors that have now exceeded their service life. They do not always fail dramatically; they leak, and the electrolyte eats the copper traces underneath. This is a repair where the damage already done is the hard part, not the capacitors.
What leaking electrolyte looks like
The smell is the giveaway: leaking electrolytic smells faintly of fish or ammonia. Owners often notice it before anything stops working. By the time the smell is noticeable, the electrolyte has usually been sitting on the board for a while.
Visually, leaked electrolyte appears as a brown or amber residue around the base of a capacitor, and the solder mask under it lifts. On the PU-7 the capacitors are packed close together and the residue spreads along the traces between them, so a single leak can damage several joints.
Mapping the damage before replacing anything
Photograph the whole power supply board at high resolution before touching it. Once you start removing capacitors it becomes very hard to tell which traces were already eaten and which you damaged yourself.
Then check continuity along every trace that passes through the affected area. Electrolyte eats copper from underneath the solder mask, so a trace can look perfect and still be open. The only reliable test is a continuity measurement from end to end.
- Smell the board. A fishy or ammonia smell confirms electrolyte leakage.
- Photograph the board at high resolution from both sides.
- Inspect every electrolytic capacitor for a bulged top, a domed base or residue around its seal.
- Measure every trace passing through the affected area end to end for continuity. Do not trust appearance.
- Neutralise the leaked electrolyte with isopropyl alcohol and a soft brush, then dry thoroughly.
- Check the fuse and the switching transistor, since a shorted capacitor downstream can take both.
Recap and rebuild the traces
Replace every electrolytic on the power supply board, not just the visibly failed ones. They are all the same age and they will all leak eventually; doing the job twice means opening a console twice and risking more trace damage on the second pass.
Repair eaten traces with fine wire run point to point, and secure it with a small amount of neutral-cure silicone so it does not move when the board is flexed. A trace that measures open but looks perfect is the one people miss, so check every one in the affected area rather than only the ones that look damaged.
- Desolder every electrolytic capacitor on the power supply board and record the value and orientation of each.
- Clean the board with isopropyl alcohol and a soft brush until the residue is gone. Let it dry completely.
- Fit new 105 °C capacitors of the same capacitance and equal or higher voltage rating.
- Repair open traces with fine wire, routed around rather than through the damaged area where possible.
- Secure the repair wires with neutral-cure silicone and check every repair for continuity.
- Power up with the board out of the shell and measure the low-voltage rails before reconnecting the main board.
- Run the console for an hour and check the power supply board temperature, since a repair that runs hot will leak again.
Fault tree branches
where this symptom also leadsIf: The fuse is blown as well as the capacitors
Find the short before fitting a new fuse, or it will blow again immediately.
PlayStation completely dead: the mains fuse on the PSU boardIf: The power rails are correct but the console still will not read discs
The repair is complete and the remaining fault is in the drive, not the supply.
PlayStation ignores the disc: the lid detect switchIf: The console powers up but cuts out after a few minutes
A trace repair has high resistance, or a capacitor was fitted with the wrong orientation.
PlayStation disc spins and stops: spindle height, clamp and motor