PlayStation completely dead: the mains fuse on the PSU board
Symptom No power LED, no fan noise, nothing at all, on a console that worked the last time it was used.
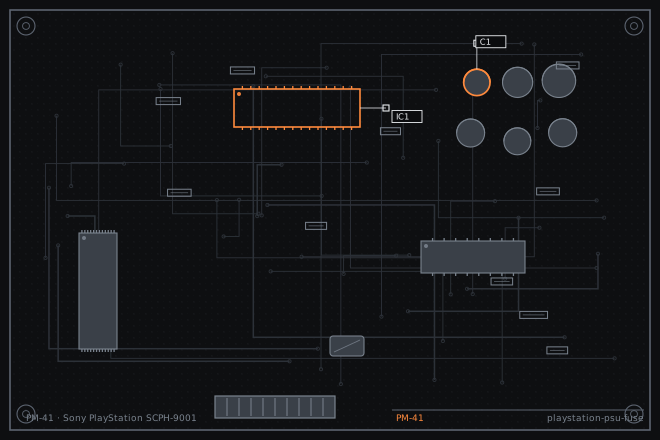
The PSone-era slim consoles and the later SCPH-900x put the mains supply on a separate board inside the shell. When that board's fuse blows, the console looks completely dead and there is no external sign of why. This is a straightforward repair as long as you find out what blew the fuse before you replace it.
Mains side or low voltage side
A PlayStation with no LED at all has failed on the mains side, because the LED is driven from the low-voltage rail and the low-voltage rail comes from the PSU board. There is nothing user-serviceable between the mains inlet and that board.
The important question is not why the fuse blew but whether something downstream caused it. A fuse that blows from age and a fuse that blows from a shorted rectifier look identical on the bench, and only one of them can be fixed by replacing the fuse.
Finding the cause before the cure
There is mains voltage on this board. Discharge the primary capacitors before touching anything, and work with one hand behind your back if you are not used to working on switch-mode supplies. A charged primary capacitor on a PSU board holds enough energy to hurt.
The usual culprits downstream of the fuse are the bridge rectifier, the main switching transistor and the primary filter capacitor. Each can be tested with a multimeter in diode mode, and a shorted one will be obvious.
- Disconnect the console from the mains and wait five minutes. Measure the primary capacitor voltage and confirm it is under 10 V before touching the board.
- Locate the fuse and check it with a continuity meter. A blown fuse reads open.
- Test the bridge rectifier with a meter in diode mode. A shorted rectifier will show continuity in both directions on at least one pair.
- Test the switching transistor for a collector-emitter short. A shorted transistor is almost always what blew the fuse.
- Check the primary filter capacitor for bulging. A capacitor that has vented will often take the fuse with it.
- Inspect the board for burnt or discoloured areas, which point at the component that failed first.
Replacing the fuse and what caused it
Fit a fuse of exactly the same rating and type. Do not fit a larger one; the fuse is the only thing between a failed component and a fire inside a plastic shell. If the original is a slow-blow part, the replacement must also be slow-blow, otherwise it will blow on the inrush current of a perfectly good supply.
If the switching transistor was shorted, replace it and the fuse together, and check the components around it. A transistor that fails short usually takes a resistor or a diode with it, and replacing only the transistor means the new one fails within minutes.
- Replace any shorted rectifier, transistor or capacitor before fitting a new fuse.
- Fit a fuse of the same rating, same type and same physical size.
- Power up with the PSU board out of the shell and measure the low-voltage outputs.
- Confirm the 3.3 V and 7.5 V rails are within tolerance before connecting the main board.
- Reassemble and run the console for twenty minutes, then check the PSU board temperature.
- If the fuse blows again immediately, stop and find the short rather than fitting a third fuse.
Fault tree branches
where this symptom also leadsIf: The fuse is intact but there is no low-voltage output
The PSU has failed without blowing the fuse. Check the switching controller and the output capacitors.
If: The console has power but will not read discs
This is not a PSU fault. Move to the optical drive.
PlayStation disc read errors: cleaning the lens before touching the potIf: The console resets when the case is tapped
A cracked joint on the PSU connector, not a fuse problem.